#1. Prepare the Property
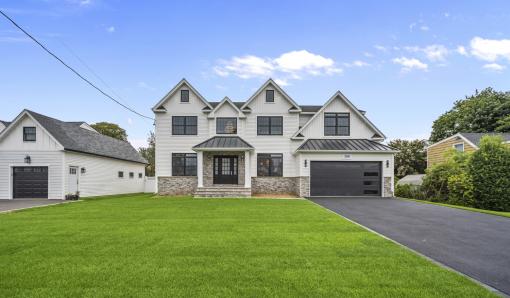
Just like preparing for a portrait, ensure that the property is ready for its close-up. Coordinate with the realtor or property owner to tidy up the surroundings, remove any distracting objects like cars or garbage bins, and ensure the yard looks appealing. A well-prepared property sets the stage for impressive exterior shots.
#2. Consider the Sun’s Position

Take advantage of natural lighting by considering the house’s orientation and the time of day you plan to shoot. Aim to schedule the session when the sunlight beautifully illuminates the property. Avoid shooting around noon, when the harsh overhead light creates unflattering highlights and shadows. On overcast days, embrace the diffused light that provides even illumination. Remember, you can always enhance the sky’s appearance during post-processing.
#3. Check the Weather Beforehand
Before heading out to shoot exterior photos or videos, it’s essential to check the weather forecast. Windy, rainy, or extreme weather conditions can significantly impact the quality of your shots and make it challenging to capture the property’s true appeal. By checking the weather beforehand, you can plan your shoot on a day with optimal conditions, ensuring clear skies, gentle breezes, and ideal lighting. Remember, capturing the property in its best light starts with capturing it in the best weather conditions.
#4. Embrace Dusk or Early Evening

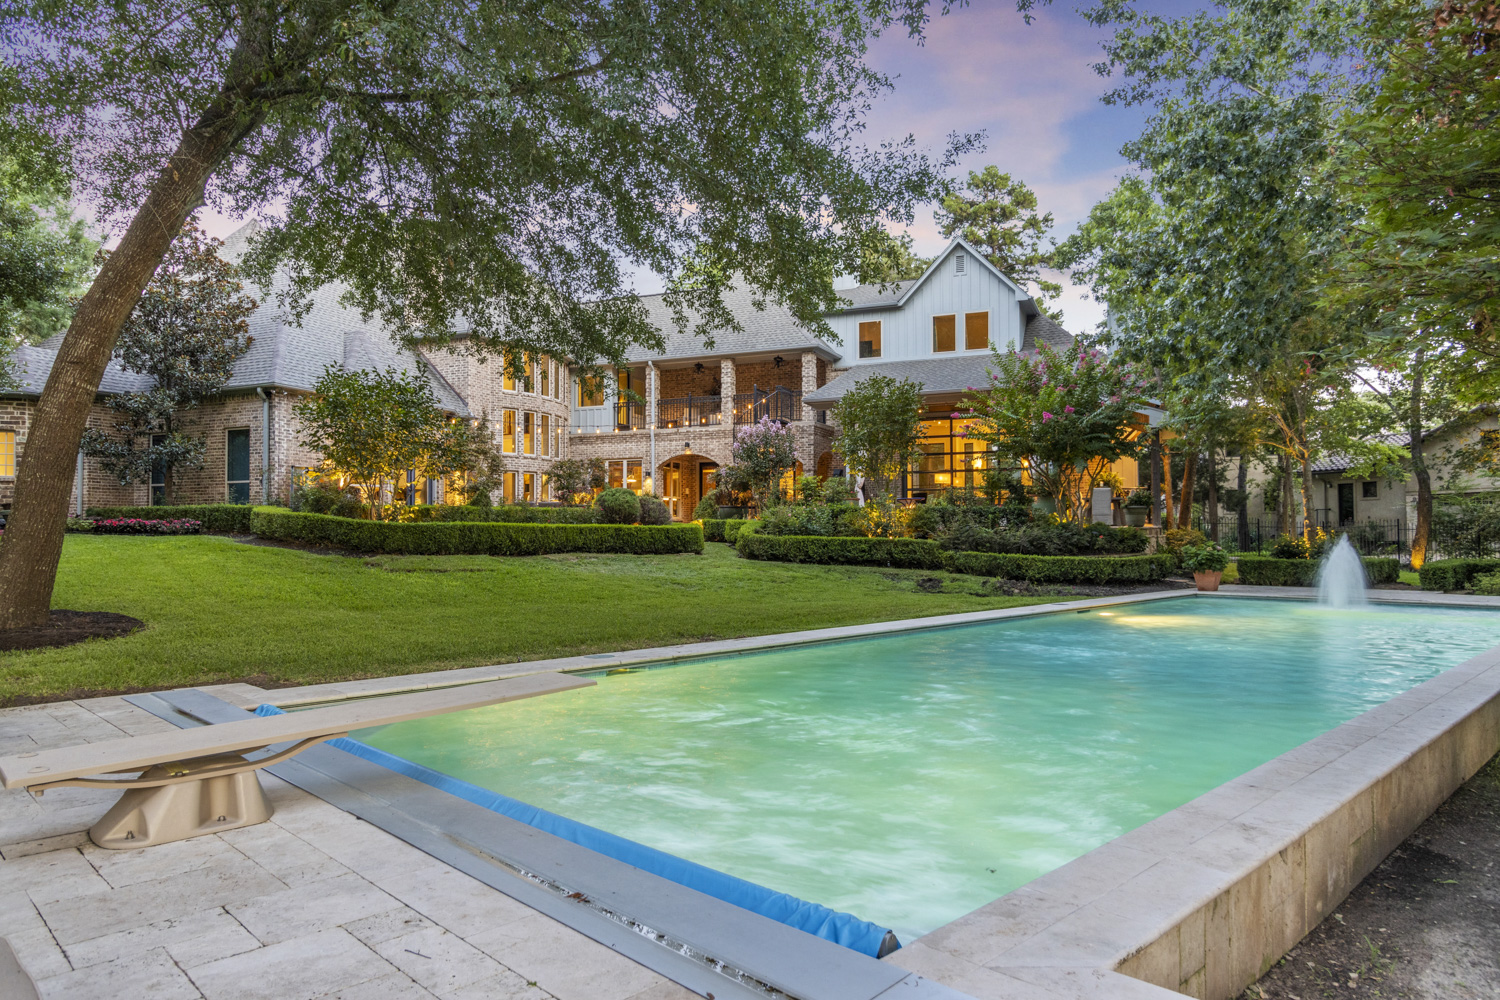
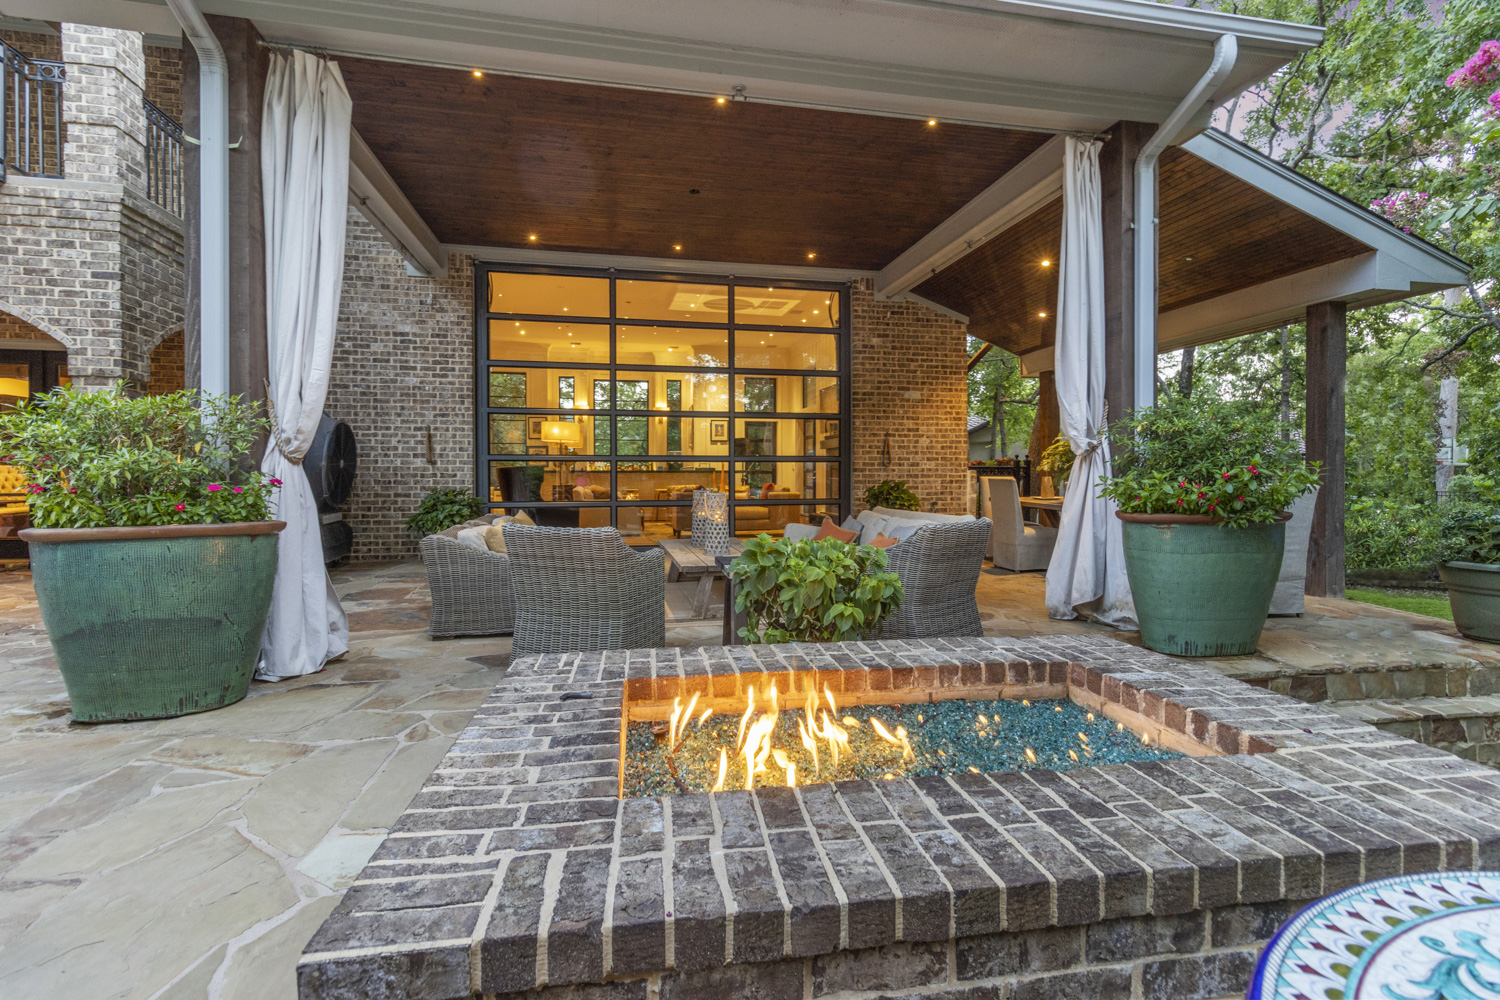
Embrace the magical ambiance that arises during twilight or early evening. Switch on both interior and exterior lights to create a warm and inviting atmosphere. Strive for a balance between the property’s brightness and the sky’s colors. Offering dusk shots as an additional service can impress your clients and showcase the property’s allure at different times of the day.
If it is too much work to capture the images at the perfect time of day, you can always utilize virtual twilight editing, also called Day-to-Dusk conversions. It will save you the time and effort of going to the property again at twilight.
#5. Experiment with Angles
Don’t be afraid to get creative and explore various angles beyond the conventional “safe shot.” Experimenting with different perspectives can help you discover the most flattering side of the property. Stand out from other real estate photographers by showcasing unique and captivating angles that highlight the property’s best features.
#6. Utilize a Tripod and Timer

To ensure sharp and professional-looking photographs, use a tripod and your camera’s timer function. This combination eliminates camera shake, resulting in clear and crisp images. When shooting during low-light conditions, such as dusk, a tripod becomes essential to maintain stability and avoid blurriness.
Pro tip: You can enable the remote control function on your camera for infrared or Bluetooth remotes, allowing you to trigger the shutter remotely without disturbing the camera’s stability. Simply access the Setup menu > Setup Option > IR Remote Control > On.
#7. Maintain a Straight Horizon
Keep an eye on your composition and use the viewfinder alignment grid to ensure both horizontal and vertical lines are level. A skewed horizon can make the property appear distorted and unappealing. However, don’t worry too much about alignment when attempting creative shots, as perspective adjustments can be made during post-processing.
#8. Highlight Unique Details

Each property possesses distinctive architectural elements or captivating features that deserve attention. Showcase these details in your photos to emphasize the property’s unique personality. Whether it’s an elegant pool, beautiful landscaping, or charming surroundings, capturing these elements will pique the interest of potential buyers and real estate agents.
#9. Capture Aerial Shots with a Drone

Consider using a drone to capture stunning aerial shots of the property. This provides potential buyers with a comprehensive view of the entire property and its relation to neighboring homes or businesses. However, be aware of local regulations governing drone usage for commercial purposes and obtain the necessary permits or licenses.
Related post: The Ultimate Guide to Real Estate Drone Photography
#10. Review and Enhance with Photo Editing

In the digital age, photo editing is a valuable tool to optimize your images. Take advantage of editing software to remove blemishes, adjust lighting and colors, enhance contrast, and refine the overall appearance. Striking the right balance between realistic enhancement and maintaining authenticity will elevate your exterior photos from good to exceptional.
First impressions are everything in the real estate industry as they pave the way for successful transactions. Captivating and authentic exterior photography leave a positive and lasting impact on potential homebuyers and realtors. When your images contribute to faster home sales, you’ll naturally attract more business from satisfied clients who are more likely to refer you to others.
If you find yourself spending excessive time on post-processing and missing out on opportunities to grow your business or accepting more shooting jobs, consider leveraging the expertise of Photoevn. Our services can help alleviate the burden, allowing you to focus on shooting more, editing less, and ultimately have a more efficient workflow with better-quality results.

