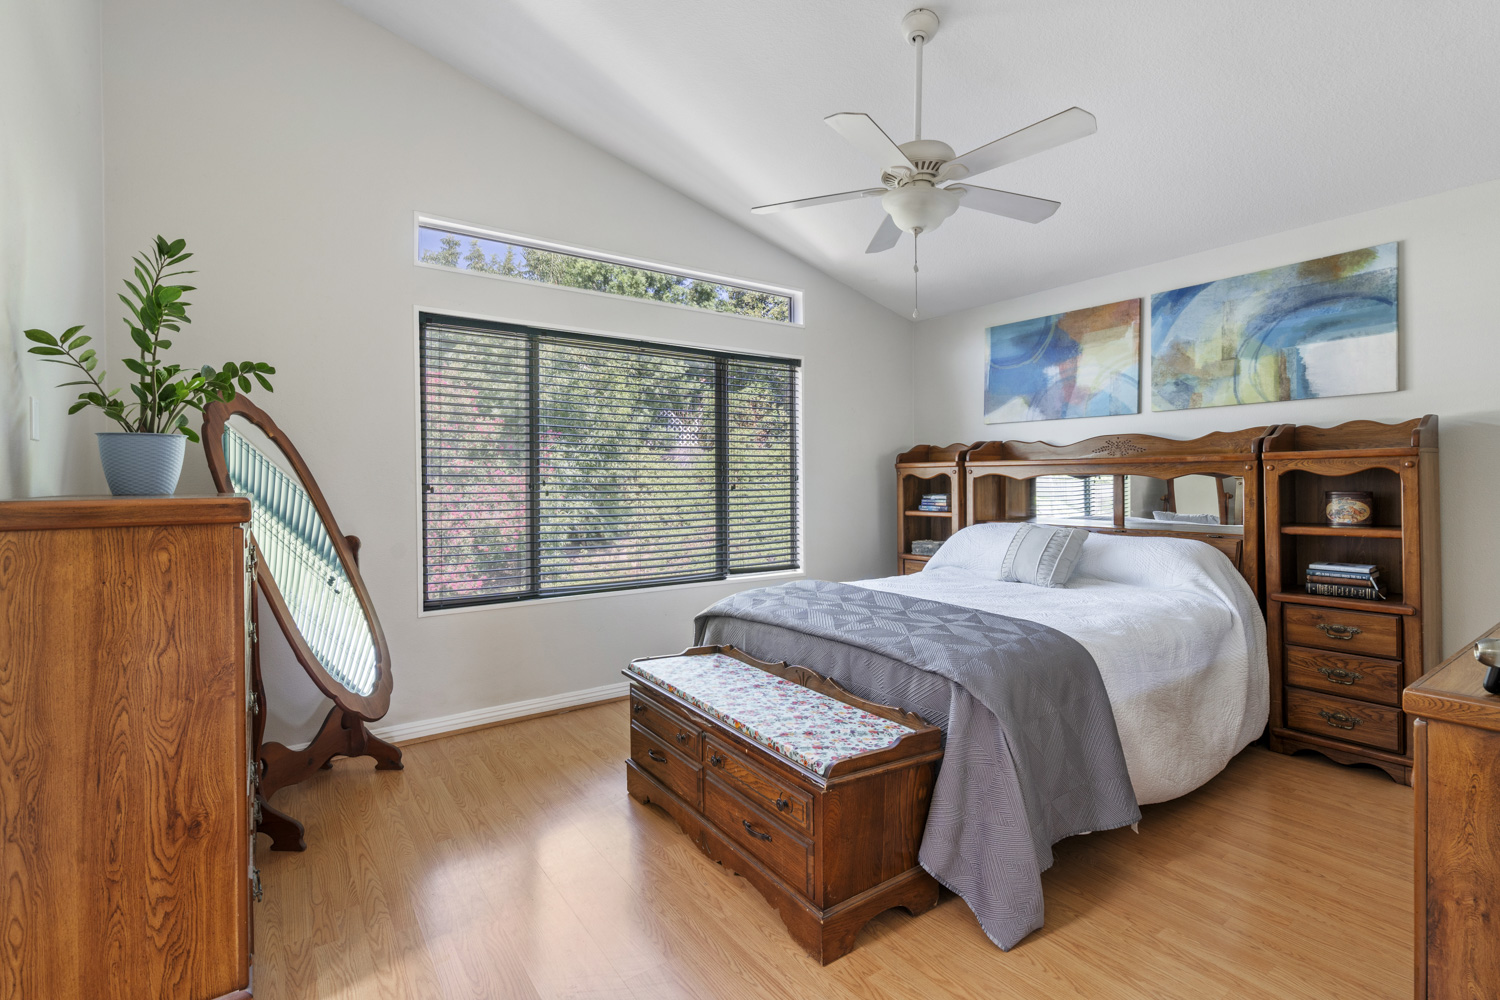
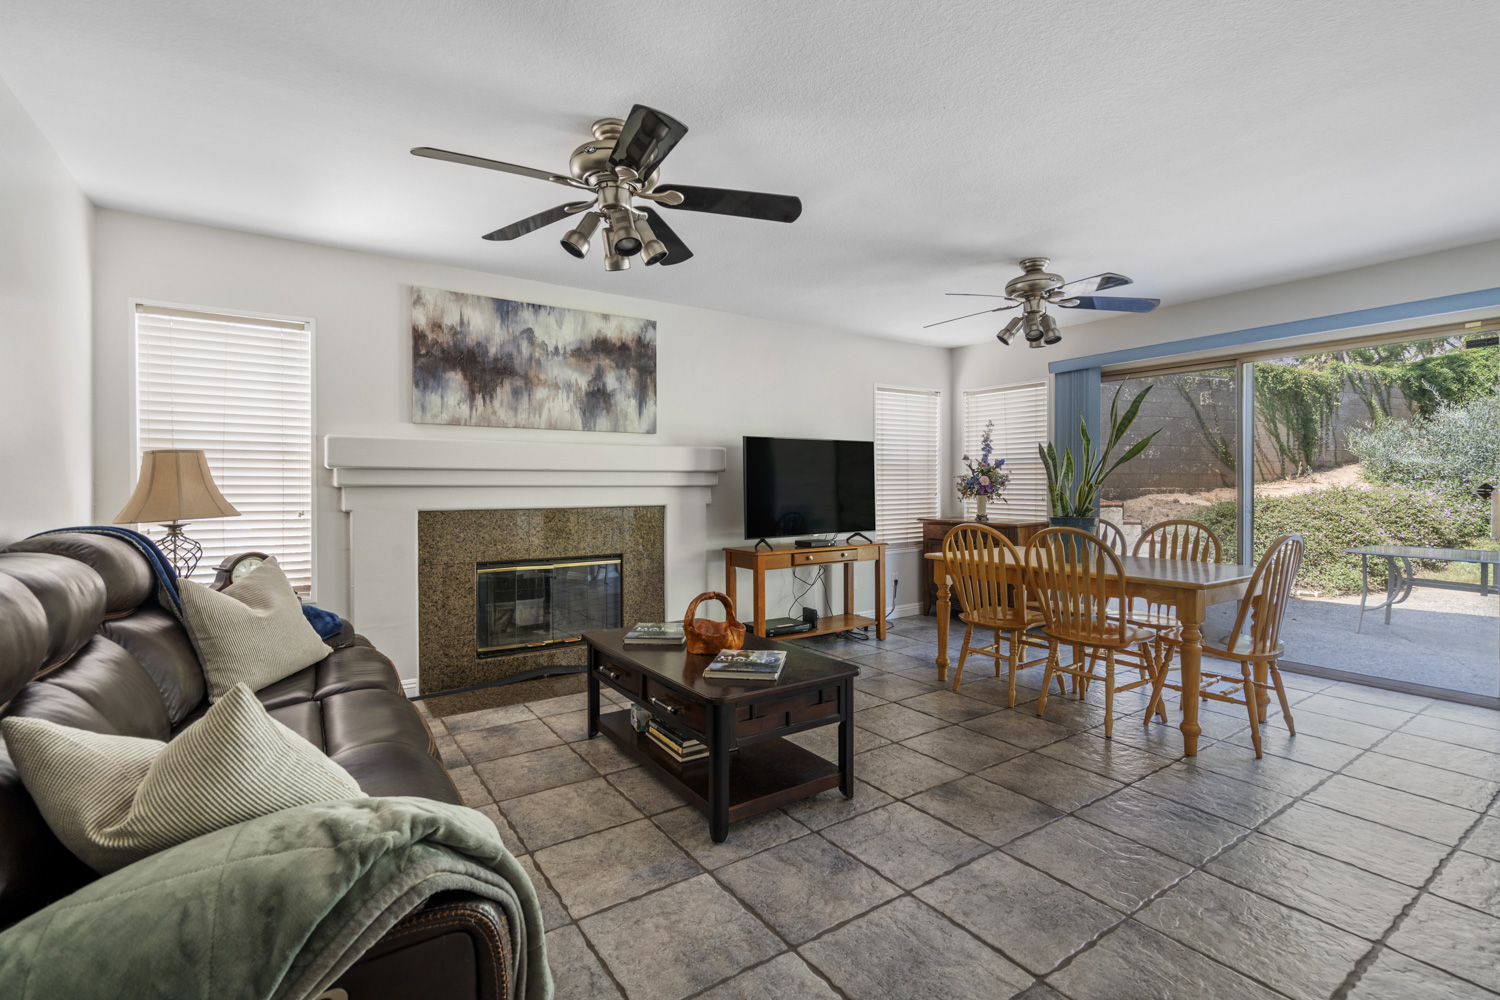
Step 1: Preparing for the Window Pull Technique
To begin, you will need to take bracketed photos at the property site, capturing the same frame with different exposures. This technique, similar to HDR, involves capturing multiple images with varying exposures. The purpose is to obtain images that reveal the landscape outside the window while also properly exposing the interior. Remember, each set of images will have its trade-offs, such as darker rooms with visible views or properly lit rooms with glared windows.
Step 2: Layering and Aligning the Photos

Working with two layers of the same photo, ensure that one layer is darker or underexposed while the other is perfectly exposed to reveal the interior. The darker layer will emphasize the view outside the window. Align these two layers precisely to avoid any blurriness or ghosting issues. Proper alignment eliminates the need for additional steps to fix blurs and ensures a seamless composition.
Step 3: Utilizing Layer Masking for Enhancement
Add a layer mask to the top layer of the aligned photos. The layer mask allows you to make enhancements without permanently altering the original image. Invert the layer mask to hide the darker layer on top. Then, use a white brush tool to paint over the window area, gradually revealing the view underneath. This process may leave some areas of the well-lit interior with patches of the darkly lit interior, but we’ll fix this in the next step.
Step 4: Fine-Tuning and Restoring Colors

To restore the original colors of the windowsill and frame, invert the layer mask color to black. Use a brush tool with black color to paint over the fixtures, ensuring the view remains intact. This step helps achieve a realistic look where the windowsill and furniture appear untouched. The final result will seamlessly combine the enhanced view and the properly exposed interior.
Step 5: Merging and Finalizing the Image
To complete the window pull technique, flatten the image by selecting all layers and right-clicking to access the “Flatten Image” option. This process merges the layers into a single cohesive image. Now, you can save the edited photo as one file, ready to showcase the property’s remarkable view.
 Kind reminder:
It’s essential to maintain the integrity of the view seen through the window. Avoid replacing the actual view with a more attractive but misleading one. For instance, if the view is of a backyard with a swimming pool, refrain from swapping it for a beach view. Honesty is crucial when showcasing a property.
Conclusion
The window pull technique is a powerful tool in real estate photo editing that enables you to capture the essence of a property’s view through a window. By applying this technique, you can create visually stunning images that showcase the true beauty of the property and entice potential buyers. Remember, honesty and accuracy are key when representing a property through photographs. With practice and dedication, you can master the window pull technique and elevate your real estate photography skills to new heights. Start using this guide and tutorial to enhance your editing abilities and captivate your audience.

